Creating a handmade quilt is always special. However, when the design celebrates pets, it becomes even more meaningful. A paw print quilt is a perfect project for beginners who love quilting and want to add warmth, personality, and comfort to their home.
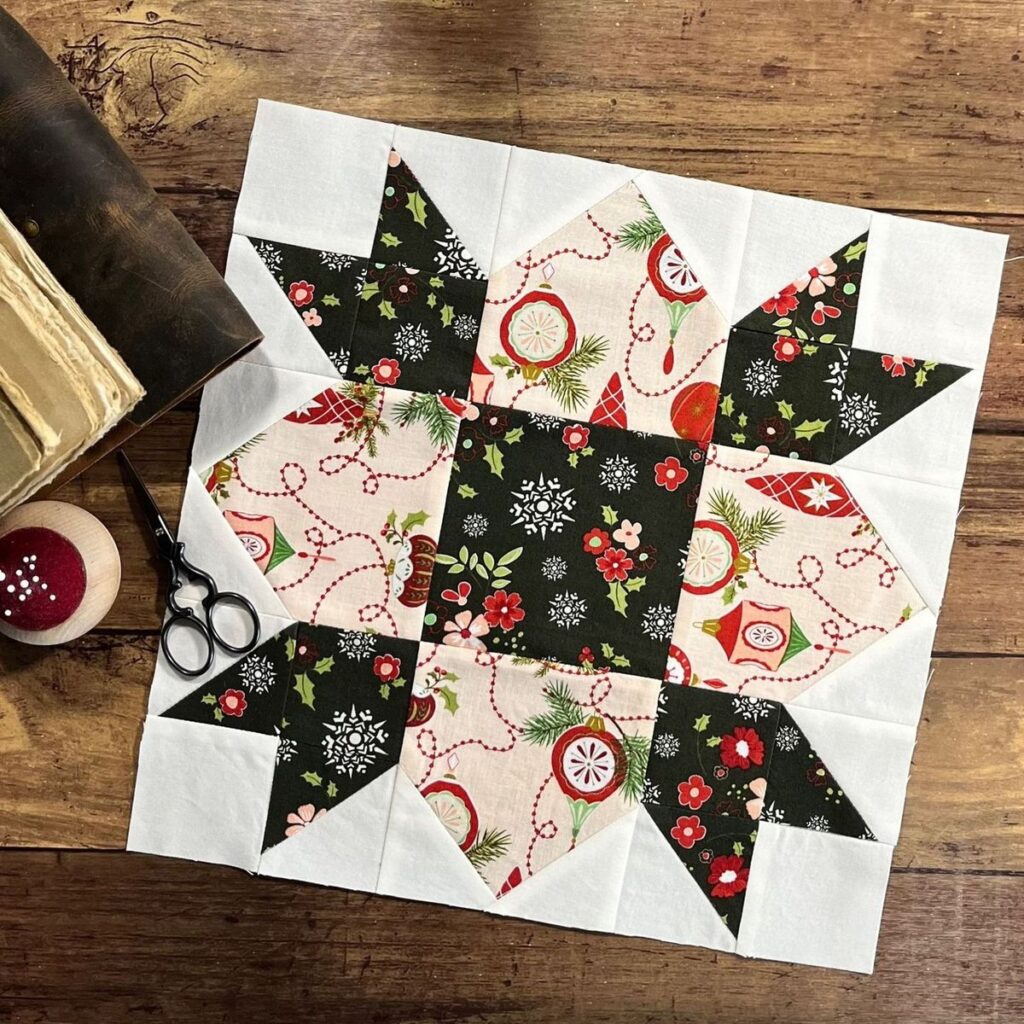
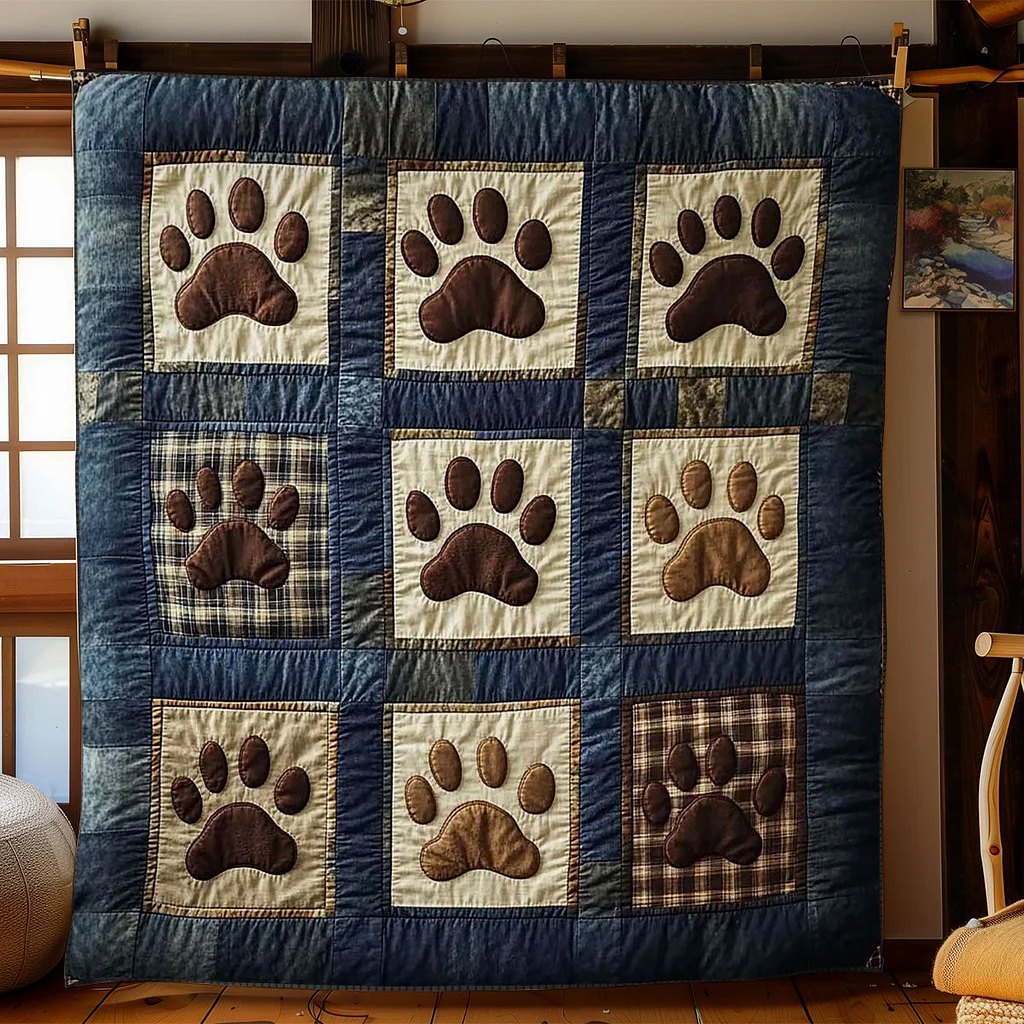
In this tutorial, you will learn how to make a cozy paw print quilt inspired by the image above. Step by step, we will guide you through the process using simple techniques, clear instructions, and helpful tips.
Why Choose a Paw Print Quilt Pattern?
First of all, paw print quilts are timeless and emotional. They are ideal for pet lovers and fit beautifully into living rooms, bedrooms, or even pet-friendly spaces.
In addition, this pattern uses basic quilt blocks, making it accessible for beginners. At the same time, the final result looks professional and decorative.
Most importantly, you can easily customize colors, fabrics, and sizes.
Materials You Will Need
Before starting, make sure you have everything ready. This will make the process smoother and more enjoyable.
-
Cotton fabric in 3–5 coordinating colors
-
Solid fabric for paw prints
-
Background fabric (neutral or plaid works well)
-
Batting (cotton or cotton blend)
-
Fabric for backing
-
Quilting ruler and rotary cutter
-
Sewing machine
-
Thread (neutral color)
-
Pins or fabric clips
Understanding the Paw Print Quilt Block
To begin with, each block represents one paw print. The paw is made using simple appliqué shapes: one large pad and four smaller toe pads.
Because of this, no advanced piecing is required. Instead, the design focuses on careful placement and stitching.
As a result, beginners can follow along with confidence.
Step 1: Cut the Fabric Pieces
Start by cutting your quilt blocks. A common beginner-friendly size is 10 x 10 inches.
For each block, cut:
-
1 background square (10 x 10 inches)
-
1 large paw pad (oval or rounded shape)
-
4 small toe pads (circles or ovals)
Repeat this process for the number of blocks you want.
Step 2: Prepare the Paw Print Appliqué
Next, place the paw pad pieces on top of the background square.
First, center the large paw pad slightly lower than the middle.
Then, arrange the four smaller pads evenly above it.
Once you are happy with the layout, secure the pieces using pins or fabric glue.
Step 3: Stitch the Paw Prints in Place
Now it is time to sew.
Using a zigzag stitch or blanket stitch, carefully sew around each paw shape. Go slowly, especially around curves.
As you stitch, remember that neat edges will make your quilt look polished, even as a beginner.
Step 4: Assemble the Quilt Top
After finishing all blocks, it is time to assemble the quilt top.
First, arrange the blocks on a flat surface to decide the layout.
Then, sew the blocks together in rows.
After that, join the rows to complete the top.
At this stage, the quilt will already start to look beautiful.
Step 5: Make the Quilt Sandwich
Next, layer your quilt.
Place the backing fabric right side down.
Add the batting on top.
Finally, place the quilt top right side up.
Smooth everything carefully and secure with pins or spray adhesive.
Step 6: Quilt the Layers Together
Now comes the quilting step.
For beginners, straight-line quilting works perfectly. Quilt around the edges of each block or follow the shapes of the paw prints.
Not only does this hold the layers together, but it also adds texture and charm.
Step 7: Bind and Finish the Quilt
Finally, trim the excess fabric and batting.
Attach the binding around the edges, sewing it neatly to the front and back. Once finished, give your quilt a gentle press.
At last, your paw print quilt is ready to use and enjoy.
Customization Ideas
To make your quilt unique, you can:
-
Use pet-themed fabrics
-
Add embroidered names
-
Mix plaid, solids, and textured fabrics
-
Turn the design into a couch throw or wall hanging
Because the pattern is flexible, creativity is always welcome.
Final Thoughts
In conclusion, a paw print quilt is a heartwarming project that combines simplicity and personality. Even if you are new to quilting, this step-by-step guide makes the process approachable and enjoyable.
With patience and creativity, you will create a quilt that tells a story and brings comfort for years to come.
Happy quilting! 🧵✨