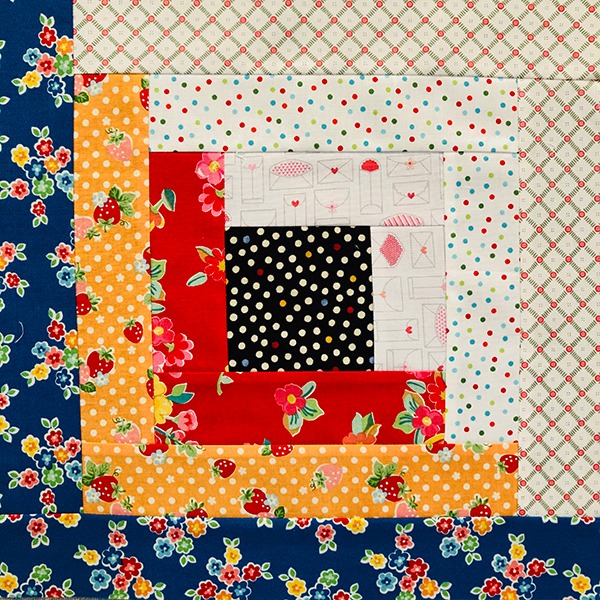

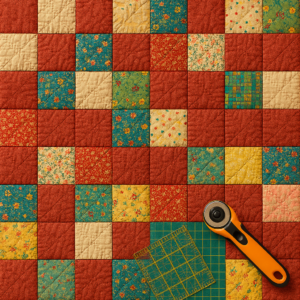
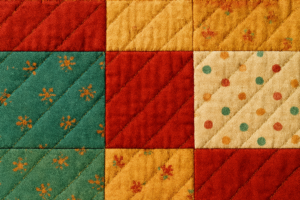
A Classic Patchwork Design with Scrap Fabric Charm
Quilting is a creative and comforting craft that turns simple fabric pieces into meaningful works of art. In particular, checkerboard quilts are loved for their timeless look and beginner-friendly construction.
Because of their repetitive structure, they are perfect for learning the basics of quilting while still achieving a beautiful result.
In this tutorial, you will learn how to create an easy checkerboard quilt pattern inspired by vintage patchwork quilts. Most importantly, this project is ideal for beginners, uses scrap fabrics efficiently, and works well for bed quilts, throws, or cozy décor pieces.
Why Choose a Checkerboard Quilt Pattern?
To begin with, checkerboard quilts are simple but visually striking. Additionally, they allow you to mix solid colors with printed scraps, creating contrast and personality.
Moreover, this type of quilt:
-
Is perfect for beginners
-
Works well with leftover fabric
-
Has a classic, timeless style
-
Can be easily resized
As a result, it’s an excellent project whether you are just starting out or returning to quilting after a break.
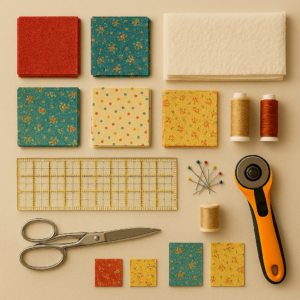
Materials Needed
Before starting, gather the following supplies:
-
Cotton quilting fabric (solid color + assorted scraps)
-
Rotary cutter and cutting mat
-
Quilting ruler
-
Sewing machine
-
Coordinating thread
-
Batting
-
Backing fabric
-
Iron and ironing board
-
Pins or clips
💡 Tip: Using pre-washed fabrics helps prevent shrinking later.
Finished Size (Example)
-
Throw quilt: approx. 60 x 70 inches
-
Each block: 4 x 4 inches (finished)
However, you can easily adjust the size by adding or removing blocks.
Step-by-Step Checkerboard Quilt Pattern
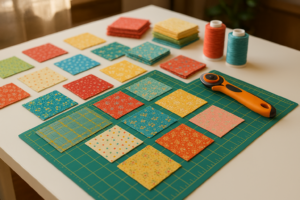
Step 1: Cut the Fabric Squares
First, cut your fabrics into equal squares.
-
Cut solid fabric squares: 4.5 x 4.5 inches
-
Cut scrap fabric squares: 4.5 x 4.5 inches
This size allows for standard seam allowances.
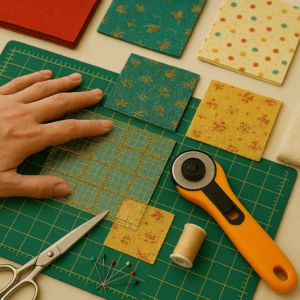
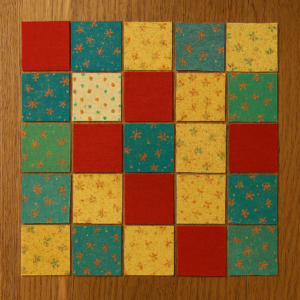
Step 2: Plan the Layout
Next, arrange the squares on a flat surface in an alternating checkerboard layout.
For example:
-
Solid square
-
Scrap square
-
Repeat across rows
At the same time, alternate the pattern in each row for balance.
📌 Take a photo before sewing so you can remember your layout.
Step 3: Sew the Rows Together
Once the layout is ready, start sewing:
-
Place two squares right sides together
-
Sew using a ¼-inch seam allowance
-
Continue until each row is complete
After that, press seams open or to one side for a flatter quilt top.

Step 4: Join the Rows
Now, connect the rows:
-
Align seams carefully
-
Pin if needed
-
Sew rows together one at a time
As you go, press seams to reduce bulk and keep everything straight.
Step 5: Create the Quilt Sandwich
When the quilt top is finished:
-
Lay backing fabric (wrong side up)
-
Place batting on top
-
Add quilt top (right side up)
Smooth each layer carefully before pinning or basting.
Step 6: Quilt the Layers
For beginners, straight-line quilting is ideal.
You can quilt:
-
Along the seams (stitch in the ditch)
-
Or in a simple grid across the quilt
This approach keeps the design clean and manageable.
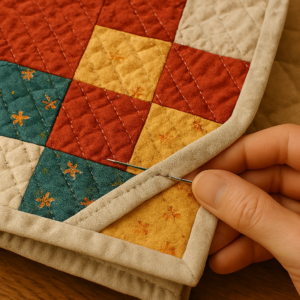
Step 7: Bind the Quilt
Finally, finish your quilt with binding:
-
Cut binding strips
-
Sew around the edges
-
Fold and hand-stitch or machine-stitch in place
Once completed, your quilt is ready to use or gift.
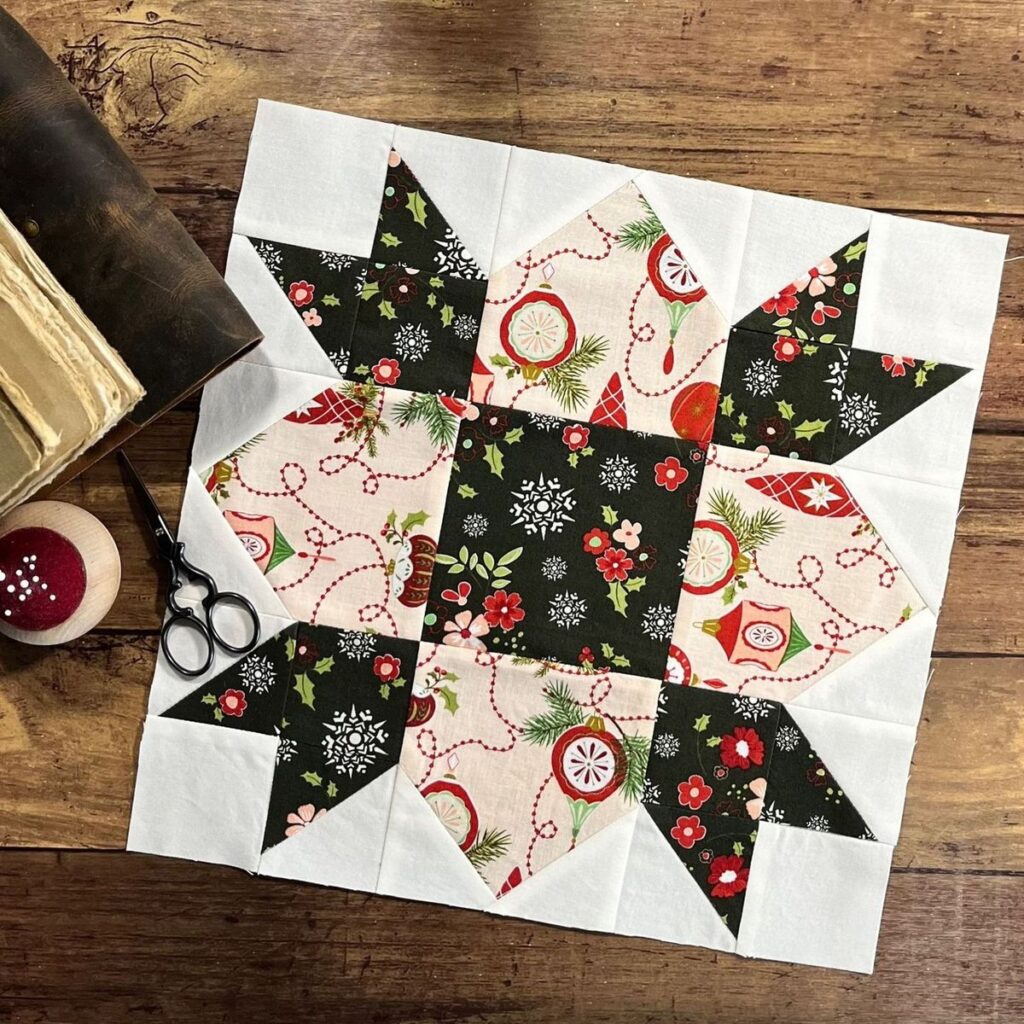
Color and Fabric Ideas
Although traditional red and cream combinations are popular, consider these ideas:
-
Soft pastels for a cottage look
-
Earth tones for a rustic style
-
Bright scraps for a playful, modern quilt
By mixing colors thoughtfully, you can make each quilt truly unique.
Tips for Beginner Quilters
-
Start with fewer blocks to avoid overwhelm
-
Press often for better accuracy
-
Keep seam allowances consistent
-
Take your time and enjoy the process
Remember, perfection is not required —
charm often comes from small imperfections.
Final Thoughts
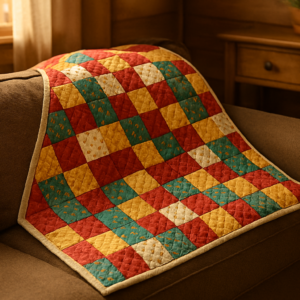
In conclusion, this easy checkerboard quilt pattern is a wonderful way to explore quilting with confidence. Not only is it beginner-friendly, but it also celebrates creativity, sustainability, and classic design.
Whether you are making your first quilt or adding another handmade piece to your home, this pattern offers comfort, beauty, and endless customization.
Happy quilting 🧵✨