
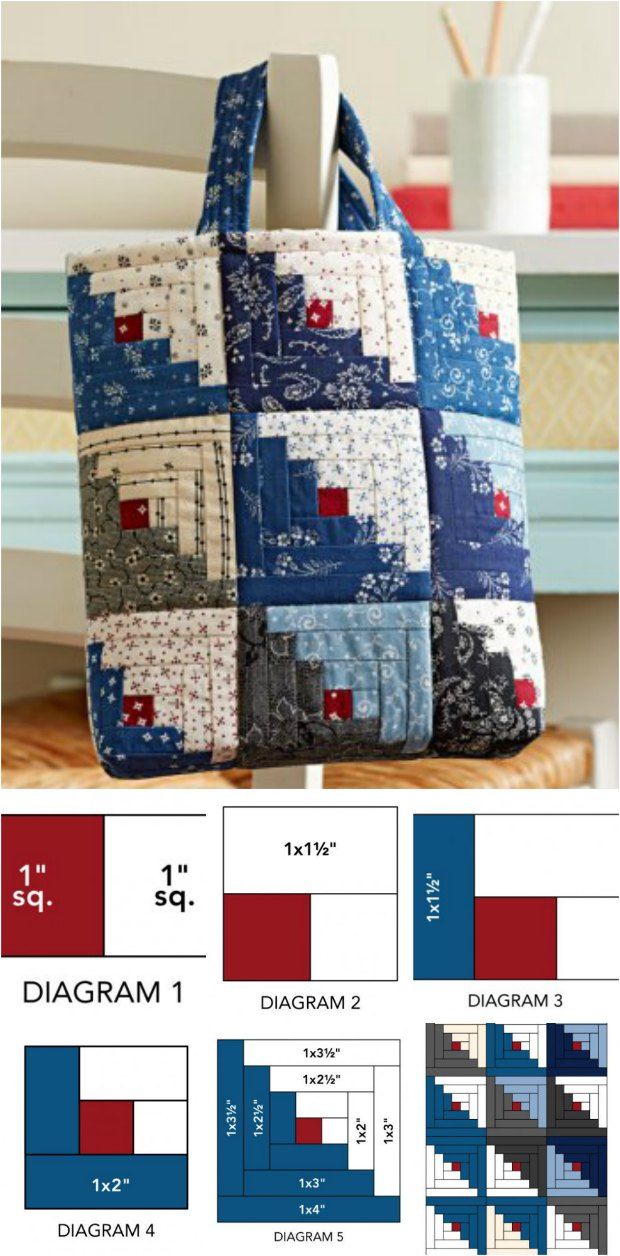
Quilted tote bags are a beautiful way to combine function and creativity.
If you’re new to quilting and love cozy, handmade accessories, this beginner-friendly tutorial will guide you through making a charming tote inspired by classic patchwork and log cabin blocks.
Why You’ll Love This Project
- 🧵 Combines quilting and sewing in one practical item
- 🌸 Uses soft floral and geometric fabrics for a cozy, cottage-style look
- 🎁 Perfect for gifting or everyday use
Materials You’ll Need
- Assorted cotton fabrics in pinks, greens, creams, and beige (floral and geometric prints)
- Lining fabric (solid cotton or coordinating print)
- Fusible interfacing (optional for added structure)
- Batting
- Sewing machine and thread
- Rotary cutter, ruler, and cutting mat
- Iron and ironing board
- Pins or clips
Step-by-Step Instructions
1. Cut Your Fabric Squares
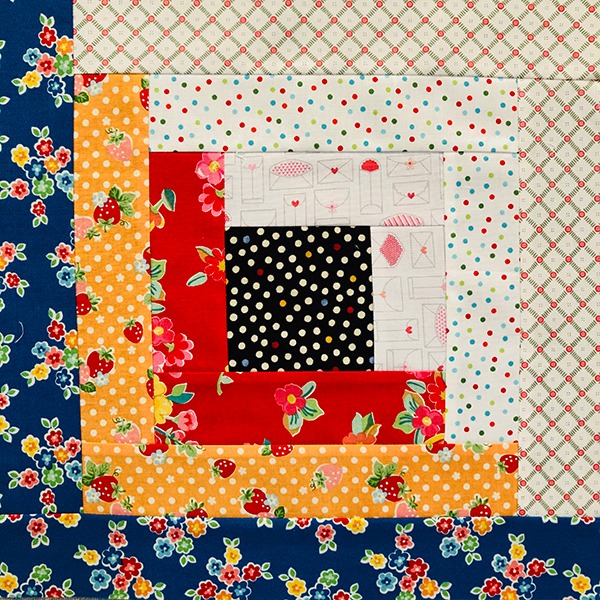
Start by cutting small squares (e.g., 2.5″ x 2.5″) from your chosen fabrics. Aim for a mix of floral and geometric prints in soft, warm tones. These will form the patchwork front panel.
2. Create Log Cabin Blocks
Using the log cabin method, sew strips around a center square to build each block. Alternate light and dark fabrics for contrast. Press seams flat after each addition.
3. Assemble the Front Panel
Arrange your blocks in a grid (e.g., 3×4 layout) and sew them together. Add a horizontal strip above the patchwork section using a floral border print framed by solid and patterned strips.
4. Add Batting and Quilting
Layer your patchwork panel with batting and quilt as desired. Use straight-line stitching or gentle curves to highlight the block seams and textures.
5. Prepare the Back Panel
You can repeat the patchwork design or use a single piece of coordinating fabric. Add batting and quilt similarly.
6. Make the Handles
Cut two long strips of fabric and batting. Sew lengthwise, turn right side out, and quilt the handles for texture. Attach them to the top edge of the front and back panels.
7. Assemble the Tote Bag
Place the front and back panels right sides together. Sew along the sides and bottom. Box the corners by folding and stitching across the bottom corners.
8. Add the Lining
Create a lining using the same dimensions as the outer bag. Insert it inside the tote, wrong sides together. Fold the top edge inward and topstitch to secure.
Final Touches
- Add a magnetic snap or button closure if desired
- Embellish with a fabric label or decorative stitching
- Photograph your finished tote in natural light to showcase the textures and craftsmanship
Beginner Tips
- Use pins or clips to keep layers aligned
- Press seams often for a polished look
- Choose fabrics that reflect your personal style
This quilted tote bag is a perfect weekend project for beginners. It blends traditional quilting techniques with modern functionality, making it a delightful addition to any handmade collection.
Happy quilting!