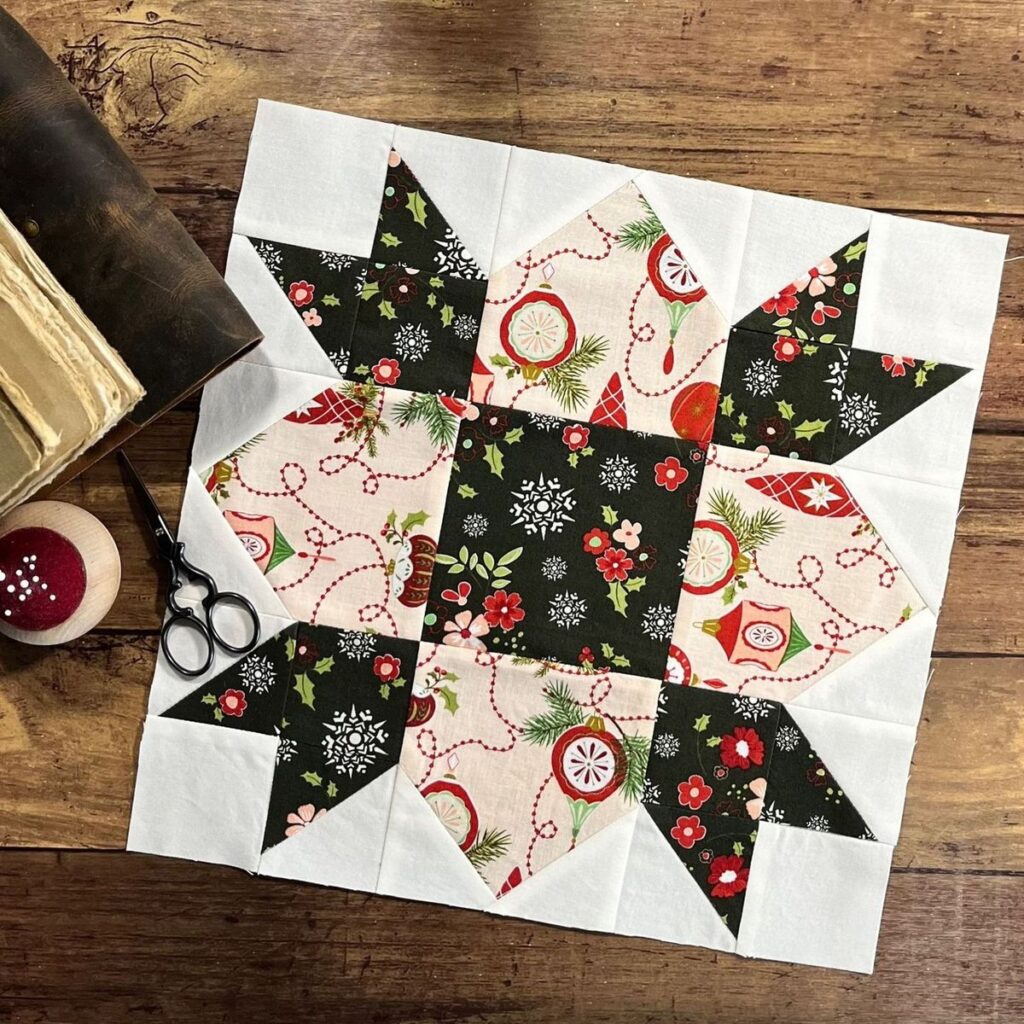

The Log Cabin quilt pattern is one of the most beloved and recognizable designs in the quilting world.
Its timeless appeal lies in its simplicity and versatility, making it an excellent choice for beginners.
In this comprehensive guide, we’ll walk you through the process of creating your own Log Cabin quilt from start to finish.
What is a Log Cabin Quilt?
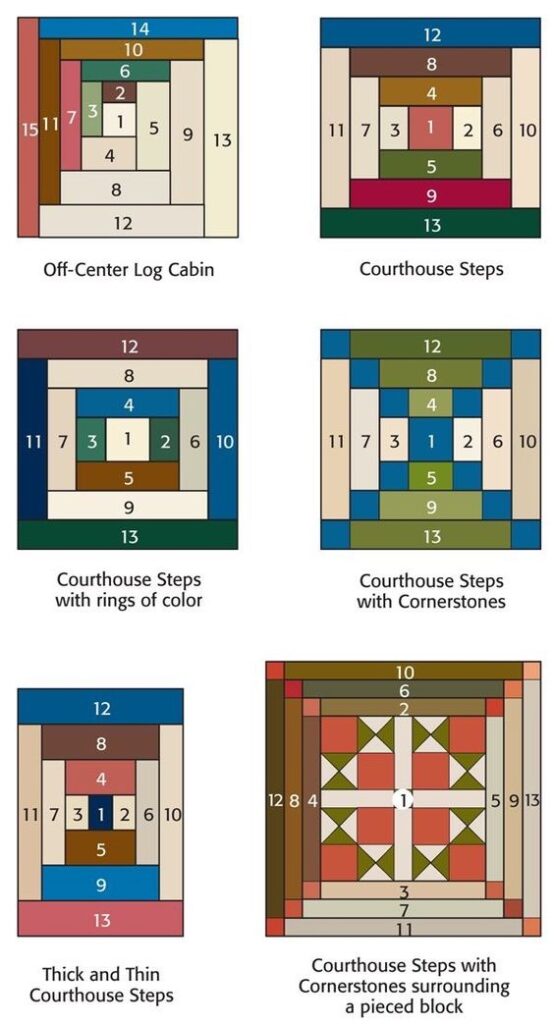
The Log Cabin quilt pattern is characterized by its distinctive block structure, which resembles the logs of a cabin.
Each block consists of a central square, often called the “hearth,” surrounded by strips of fabric, or “logs,” that are added in a specific sequence.
This creates a visually striking design that can be arranged in numerous ways to create a variety of patterns and effects.
Materials Needed
Before you start, gather the following materials:
- Fabric: Choose a selection of fabrics in various colors and patterns. You’ll need both light and dark fabrics to create the contrast essential for the Log Cabin design.
- Cutting Tools: A rotary cutter, self-healing cutting mat, and acrylic ruler.
- Sewing Machine: While you can sew by hand, a sewing machine will speed up the process.
- Thread: Use a high-quality, neutral-colored thread.
- Iron and Ironing Board: For pressing seams.
- Quilting Pins: To hold fabric pieces in place.
- Quilting Batting and Backing Fabric: For assembling the quilt.
Step-by-Step Instructions
Step 1: Choosing and Cutting Your Fabric
Select your fabrics with an eye for contrast. Traditional Log Cabin quilts use light and dark fabrics to create a dramatic effect. You can also opt for a monochromatic scheme or use bold, bright colors for a modern twist.
- Cut the Center Squares: Start by cutting a 2.5-inch square from your chosen center fabric. This will be the “hearth” of your Log Cabin block.
- Cut the Logs: From your light and dark fabrics, cut strips that are 2.5 inches wide. The length of these strips will vary as you progress with your blocks.
Step 2: Assembling the Log Cabin Block
- Sew the First Log: Place the center square right side up. Take a 2.5-inch strip from your light fabric and align it with one edge of the square, right sides together. Sew with a 1/4-inch seam allowance.
- Press the Seam: Open the seam and press it with an iron, ensuring the seam is flat.
- Add the Second Log: Rotate the block 90 degrees clockwise. Take another light strip and sew it to the next edge of the block, right sides together. Press the seam as before.
- Continue Adding Logs: Continue this process, alternating between light and dark strips, and rotating the block after each seam. Always press your seams flat before adding the next strip.
Step 3: Completing the Blocks
Repeat the process until your block reaches the desired size. Standard Log Cabin blocks can range from 9 inches to 14 inches or larger, depending on your preference. Remember to maintain the 1/4-inch seam allowance throughout.
Step 4: Arranging Your Blocks
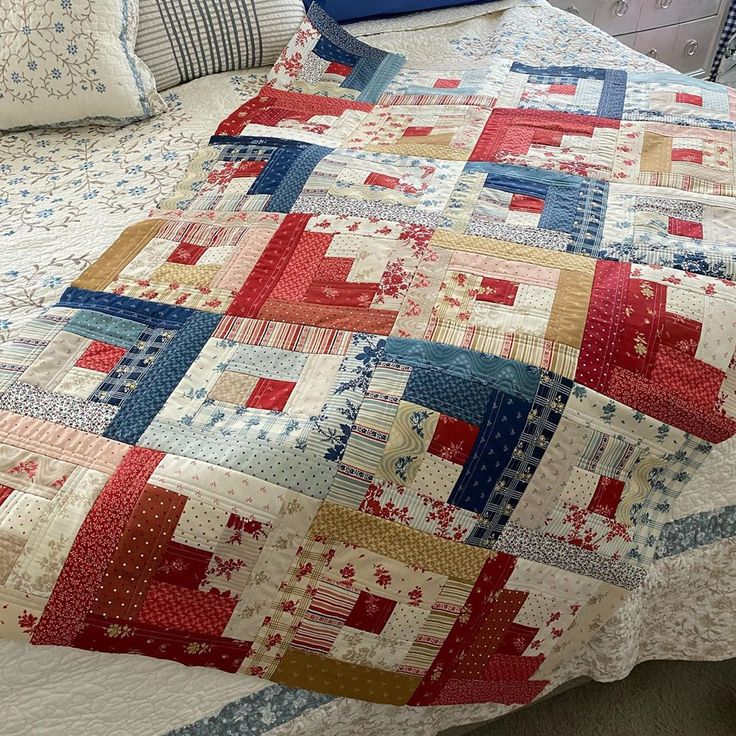
Once you have completed a sufficient number of blocks, you can begin to arrange them. The Log Cabin pattern offers endless possibilities. Here are a few popular layouts:
- Barn Raising: Arrange blocks in concentric squares or diamonds.
- Straight Furrows: Create diagonal stripes across the quilt.
- Streak of Lightning: Arrange blocks to form a zigzag pattern.
- Fields and Furrows: Combine light and dark blocks in rows to create a striped effect.
Experiment with different arrangements until you find the one that appeals to you most.
Step 5: Assembling the Quilt Top
Once you’ve decided on your layout, sew the blocks together row by row. Use quilting pins to keep the blocks aligned and ensure your seams match up. Press the seams open as you go.
Step 6: Adding the Batting and Backing
With your quilt top complete, it’s time to add the batting and backing.
- Cut the Batting and Backing Fabric: Both should be slightly larger than your quilt top.
- Layer the Quilt: Lay the backing fabric right side down, place the batting on top, and then the quilt top right side up.
- Baste the Layers: Use safety pins or quilting spray to baste the layers together, ensuring there are no wrinkles or puckers.
Step 7: Quilting
Quilting holds the three layers together and can be done by hand or with a sewing machine. For beginners, a simple “stitch in the ditch” (stitching along the seams) or straight-line quilting is recommended.
Step 8: Binding the Quilt
Finally, bind the edges of your quilt to give it a finished look.
- Cut Binding Strips: Cut strips of fabric 2.5 inches wide and long enough to go around the perimeter of your quilt.
- Sew the Binding: Attach the binding to the quilt edges with a 1/4-inch seam allowance. Fold it over the edge and hand-stitch it to the back of the quilt.
Tips for Success
- Accuracy is Key: Precise cutting and sewing will ensure your blocks fit together perfectly.
- Press as You Go: Pressing seams after each step keeps your blocks flat and makes assembly easier.
- Practice Makes Perfect: If your first few blocks aren’t perfect, don’t be discouraged. Quilting is a skill that improves with practice.
Conclusion
Creating a Log Cabin quilt is a rewarding project that combines traditional design with personal creativity. By following these steps and practicing your technique, you’ll soon have a beautiful quilt to cherish or gift. Happy quilting!